Downloading images from Google Slides can be a hassle. While many users try to save images to Google Keep and then download them from there, this method often fails. If you've faced this issue, don't worry.
In this guide, we'll discuss how to save an image from Google Slides by providing simple, effective solutions to help you save images from Google Slides on various devices.
So, let's get started.
- On This Page
- How to Save an Image From Google Slides to Desktop?
- How to Save an Image From Google Slides on Mac?
- How to Save an Image From Google Slides on a Chromebook?
- How to Save an Image From Google Slides on iPhone
- Troubleshooting: Google Slides Save to Keep Not Showing
- Bonus Tip: Generate AI PowerPoint Slideshows Without Google Slides
- Conclusion
How to Save an Image From Google Slides to Desktop?
Saving an image directly from Google Slides to your desktop can be tricky, but it's possible with the right steps.
Here's how to save image from Google Slides to desktop:
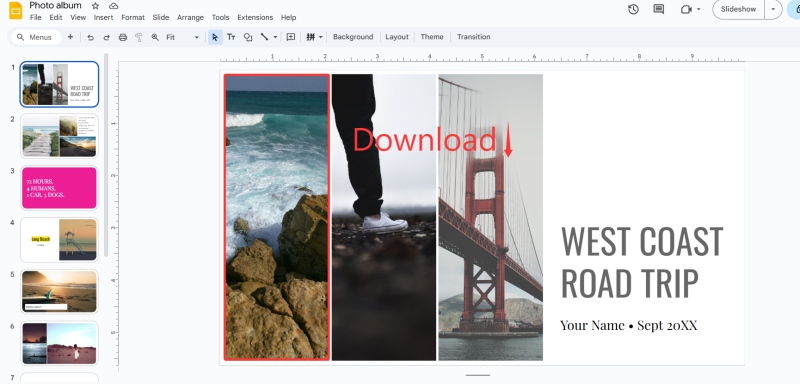
Step 1: Open the Google Slides presentation containing the image.
Step 2: Right-click on the image you want to save.
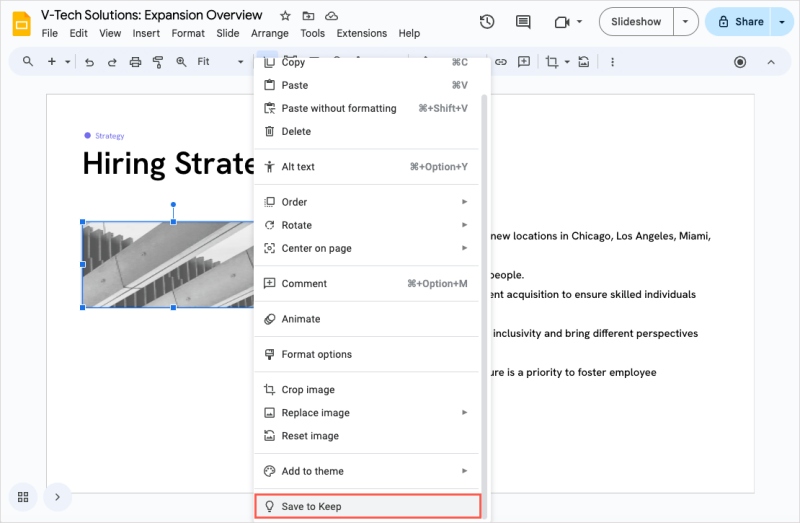
Step 3: Select "Save to Keep" from the context menu (if the option appears). A sidebar will open on the right.

Step 4: In the Keep sidebar, right-click the image and select "Save image as…" to save it directly to your desktop.

If the Google Slides save to keep not showing, you can also use a screenshot tool. This method is often quicker and more reliable.
Are you looking to learn how to add a border in google slides? Follow this link.
Free Screenshot Shortcut (Windows):
Press Windows + Shift + S to open Snip & Sketch, then drag to capture the area with the image you want to save. The screenshot will automatically be copied to your clipboard, and you can paste it into an image editor or save it directly.
How to Save an Image From Google Slides on Mac?
Saving images from Google Slides on a Mac follows a similar process, with a few simple steps.
Here's how to save image from Google Slides on Mac:
Step 1: Open your Google Slides presentation and locate the image you want to save.
Step 2: Right-click on the image and select "Save to Keep" from the context menu. A sidebar will appear on the right.
Step 3: In the Keep sidebar, right-click the image and select "Save Image As…"

Step 4: Choose your destination folder and click "Save" to download the image to your Mac.
If "Save to Keep" doesn't work for you, you can easily take a screenshot instead.
Free Screenshot Shortcut (Mac):
Press Command + Shift + 4, and your cursor will change. Click and drag to select the image area. The screenshot will be saved to your desktop automatically.
If you are looking to learn how to make Google Slides Vertical, read this.
How to Save an Image From Google Slides on a Chromebook?
On a Chromebook, you don't have access to third-party tools for screenshots or screen recording. However, you can use the built-in screenshot function to save images from Google Slides.
Here's how to save image from Google Slides on Chromebook:
Step 1: Open your Google Slides presentation on your Chromebook.
Step 2: Navigate to the image you want to save.
Step 3: Press Ctrl + Shift + Show Windows key (or F5 on some devices) to activate the screenshot tool.
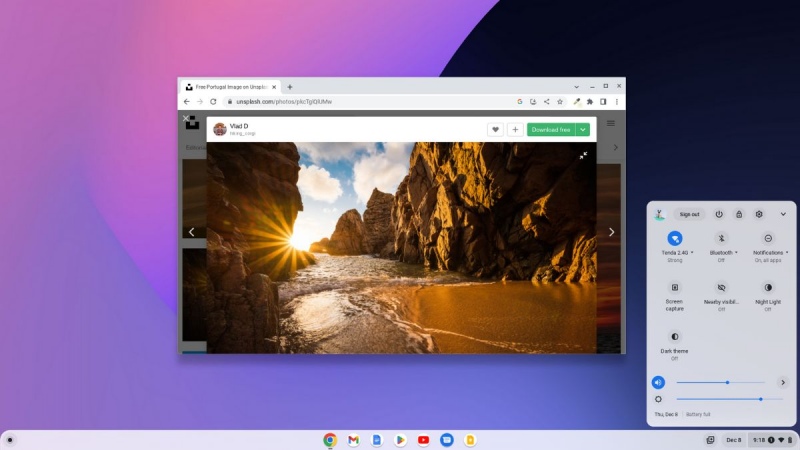
Step 4: Click and drag to select the area of the image you want to capture. The screenshot will automatically be saved to your Downloads folder.
This is a quick and easy way to grab images, even without third-party tools.
How to Save an Image From Google Slides on iPhone
If you're using an iPhone, the easiest way to save an image from Google Slides is by taking a screenshot.
Here's how to save image from Google Slides on iPhone:
Step 1: Open the Google Slides app and go to the slide containing the image you want to save.
Step 2: Make sure the image is fully visible on your screen.
Step 3: Press the Side Button + Volume Up (on iPhone X and later) or Home Button + Side Button (on older models) simultaneously.
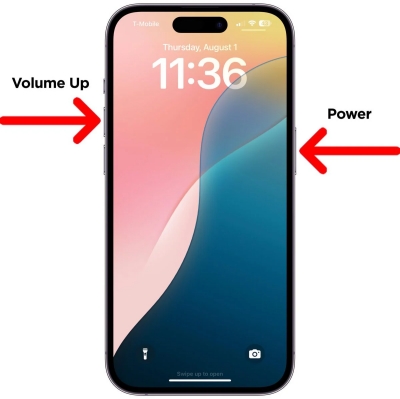
Step 4: The screenshot will be captured and saved to your Photos app. You can crop or edit the image as needed.
This is a quick and convenient way to save images from Google Slides on your mobile device.
Read Also: Do you knoow how to add a video to Google Slides? >>>
Troubleshooting: Google Slides Save to Keep Not Showing
If you're facing issues with the "Save to Keep" option not showing up in Google Slides, there are a few common fixes:
1. Check Your Internet Connection: Sometimes, a slow or unstable connection can prevent the "Save to Keep" feature from appearing. Make sure your internet connection is stable and try again.
2. Use Google Keep Properly: Ensure you're signed into the correct Google account, and make sure the Google Keep sidebar is enabled in Google Slides. If the sidebar is hidden, click on the Keep icon on the right to open it.
3. Browser Compatibility: Some browsers may not fully support this feature. Try using Google Chrome or updating your browser to the latest version.
4. Refresh and Retry: If all else fails, refresh the Google Slides page and attempt the steps again.
Saved Images from Google Slides Have Low Resolution
If the images you save from Google Slides appear blurry or have low resolution, try capturing them using the screenshot tool. Screenshots tend to maintain better quality compared to saving through "Save to Keep."
Bonus Tip: Generate AI PowerPoint Slideshows Without Google Slides
If you're looking for a Google Slides alternative, Vidwud is an excellent choice. With Vidwud, you don't need to search for images or worry about design—AI handles all the work for you, making the process of creating presentations faster and more efficient.
How to Use Vidwud to Create PowerPoint Slideshows:
Step 1: Visit the Vidwud AI PowerPoint Generator
Make AI Presentation Now
Begin by opening your browser and heading to the official Vidwud AI PowerPoint Generator website. On the homepage, locate the AI PowerPoint Generator tool.

Step 2: Input Your Topic or Content
You'll find a text box labeled "Enter your topic" or "Describe your presentation." Simply enter a brief prompt, such as:
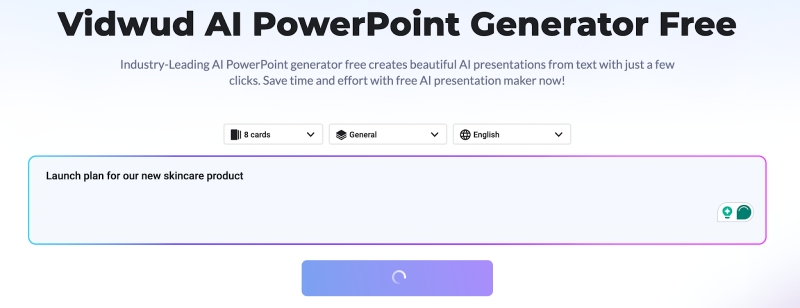
1."Launch plan for our new skincare product"
2."Overview 2025 marketing plan"
You can also define the number of slides, your purpose (business, education, marketing), and your preferred language.
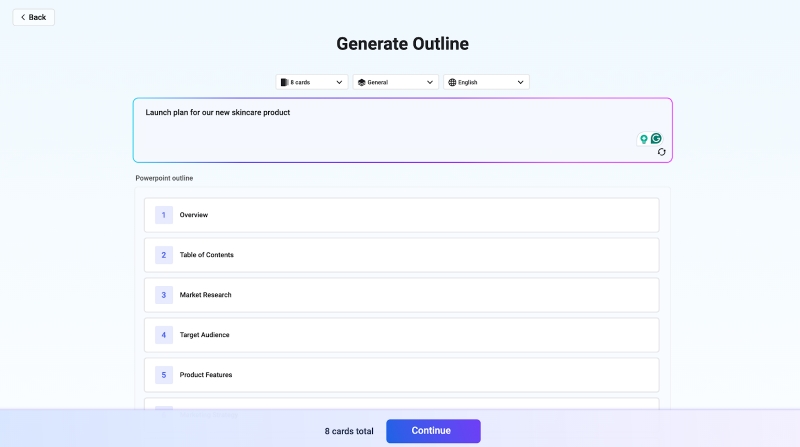
Step 3: Create & Personalize Slides
After entering your content, click the "Generate Slides" button. The AI will process your request and generate a complete PowerPoint presentation with relevant design, layout, and text—all in under a minute.
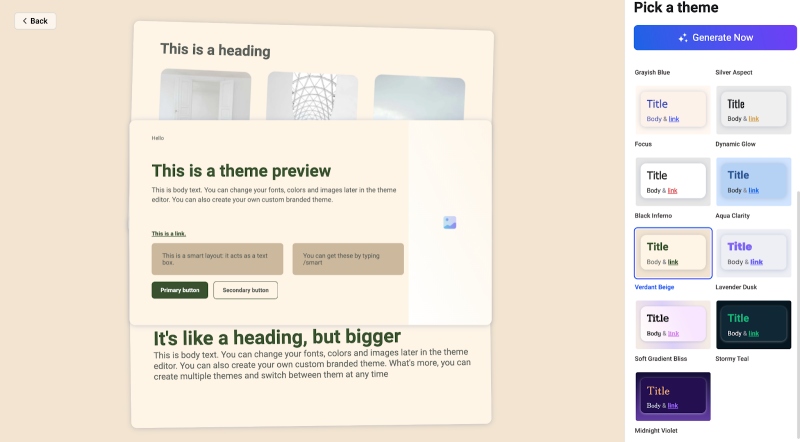
Once your slides are ready, you have two options:
1.Download it instantly as a .PPTX file and use it as is.
2.Click "Customize" to fine-tune colors, fonts, or content directly in the editor.
Vidwud makes it incredibly easy to create polished and professional presentations without any design skills required!
If you are looking to learn how to convert Google slides to PowerPoint, read this guide.
Core Features of Vidwud AI PowerPoint Generator:
1.AI-Powered Content Creation: Automatically generates slides based on your input, saving you time and effort.
2.Image and Design Integration: AI selects relevant images and designs to enhance your slides.
3.Customizable Templates: Choose from a variety of templates tailored to different presentation needs.
4.Downloadable Presentations: Once your slides are ready, you can easily download the complete PowerPoint file.
With Vidwud, creating professional-quality presentations has never been easier!
Conclusion
Now you know how to save an image from Google Slides. Saving images from Google Slides can be tricky, but with the right tools and methods, you can easily capture and save images across various devices. For a faster, more efficient solution, consider using Vidwud. Try it today and let AI help you create stunning presentations effortlessly.
Free AI Presentation Maker - Text to PPT
-
Easy and free prompt-to-slideshow generator
-
Multiple themes & templates for beautiful PPT creation
- Perfect online slideshow for school project, business pitch, etc.
Make AI Presentation Now


![How to Convert PDF to Google Slides Easily? [2 Methods]](https://cdn.vidwud.com/blog_files/20250218/pdf-to-google-slides.png)